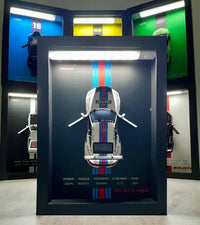
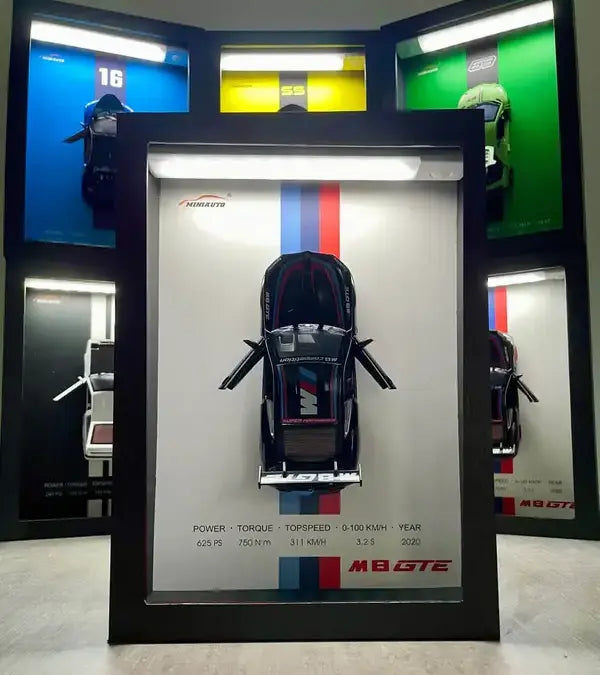
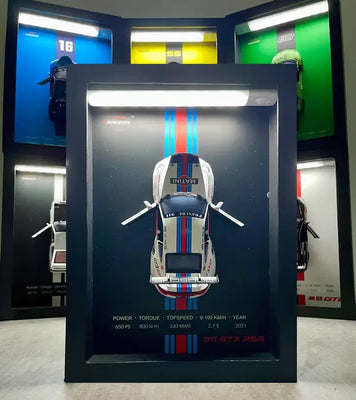
1. Carefully unpack the frame and its accessories: Carefully remove the frame, lamp and remote control protected in bubble wrap from inside the package.
2. Charge the LED lamp: Connect the lamp using the provided USB-C cable and allow it to fully charge before first use.
3. Attach the LED lamp to the frame: Position the lamp on the magnets. It attaches automatically thanks to the magnetism, without any complicated manipulation.
4. Customize the miniature car's layout: Before inserting the protective glass, open the car's doors, hood, or trunk as you prefer to stage it as you wish inside the frame.
5. Insert the protective plexiglass panel: Remove the protective film from both sides of the plexiglass. Then gently slide the panel into the slot provided for this purpose at the front of the frame.
6. Choose an ideal location: Place your 3D LED board on a stable, well-lit surface to fully enjoy it.
7. Use the lamp's features: The supplied remote control allows you to adjust the light intensity as you wish, with a choice of warm white or cool white lighting.
8. Bonus Feature: Removable, Friction-Powered Car: You can remove the toy car by unscrewing the fasteners at the back of the frame. Once removed, it can roll on its own thanks to its friction system: pull it back to see it move forward automatically.
9. Turning on the car lights: A battery (not supplied) can be inserted into the car to activate the lighting of its headlights.


